Description
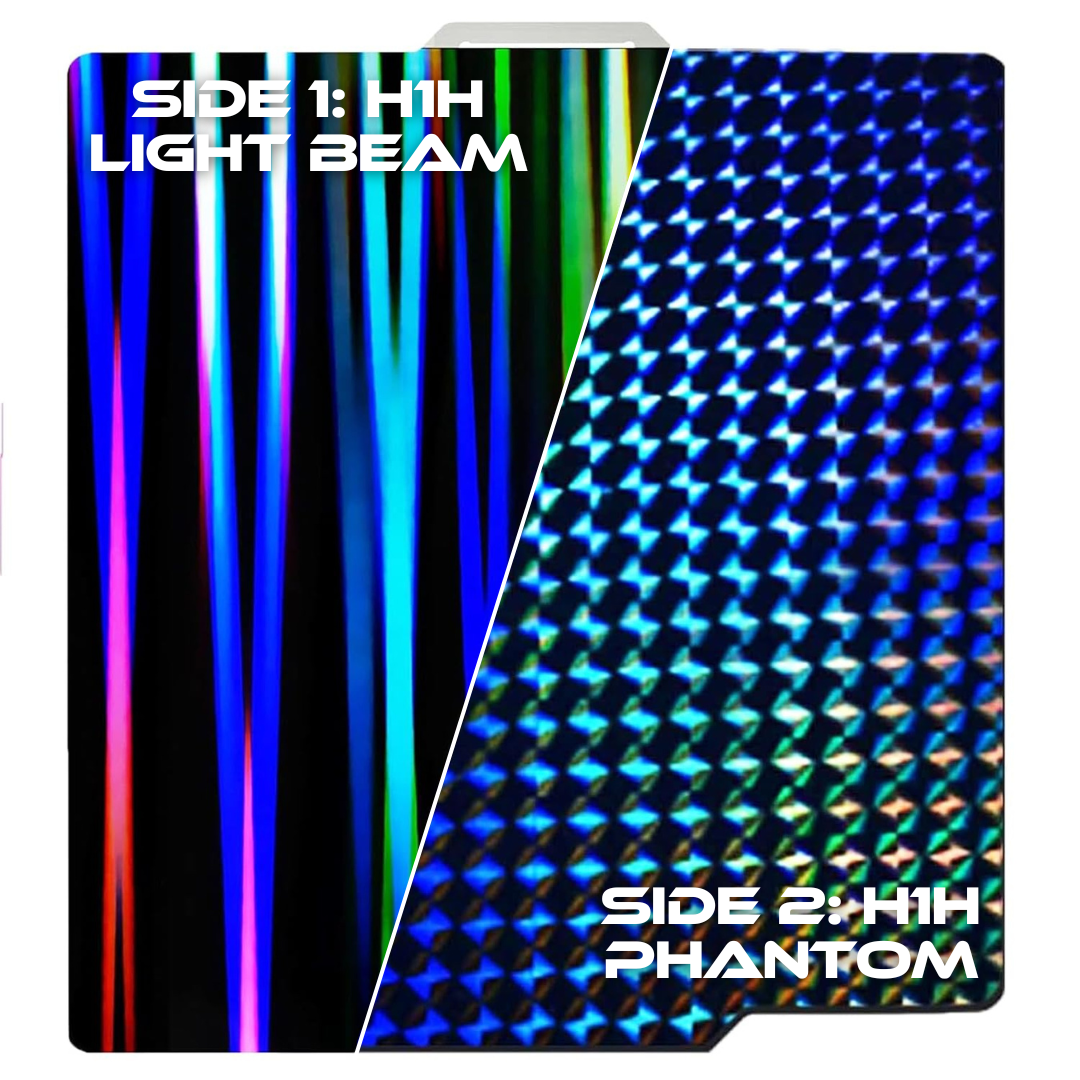
Experience the next level of precision and style with METAFLEX's H1H Light Beam and Phantom smooth build plates. Designed for those seeking ultra-smooth surfaces and hassle-free printing, this duo ensures flawless prints with exceptional ease of use.
The H1H smooth build plate boasts a perfectly flat, glass-like surface that guarantees excellent adhesion while providing effortless print removal. Coupled with the transferable Light Beam and Phantom patterns, the H1H smooth build plate is your key to superior surface finishes.
Key Features:
- Ultra-Smooth Surface – Perfect for PLA, ABS, PETG, and more, no additional adhesives required, ensuring a clean and polished bottom layer.
- Flexible Plate Design – Easily pop off your finished prints without using tools, thanks to the flexible magnetic base.
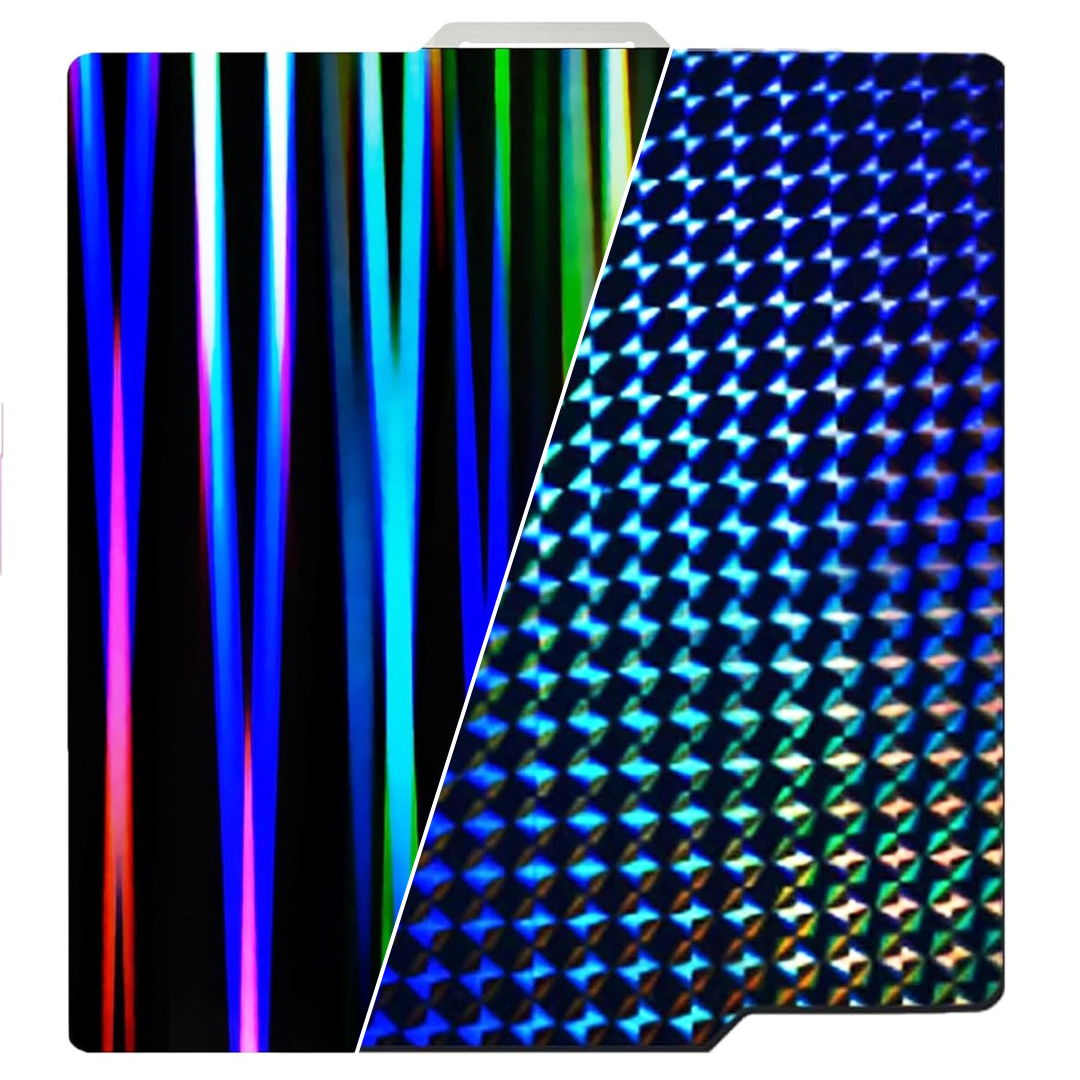
- Transferable Pattern – Select from either our stunning Light Beam or Phantom patterns to transfer to the bottom of your prints.
- Double Sided – Switch between our two perfectly smooth, light beam and phantom patterns.
How to Measure Your Build Plate
Step 1: Simply measure the length and width of the build plate on your FDM 3D printer.
Step 2: Cross check the measurement against our METAFLEX FDM build plate range before purchase.

Your printer's build plate will almost always be larger than its print volume, make sure you measure the full length of your build plate before selecting, or alternatively use our compatibility chart under the above tab to find your model. If you have any issues finding the right size or measuring your build plate, please get in contact with us.
Compatibility Chart
Installation & Maintenance
Installation:
- Clean Build Plate - Before installing magnetic base, thoroughly clean your build plate with IPA (Isopropyl alcohol) and a microfiber cloth to remove any dust, grease, or debris.
- Applying Magnetic Base - Peel backing paper 5cms from back edge of magnet, align both back corners of magnet with the back corners of your build plate. Once aligned push down on magnet to stick the exposed back surface. Slowly begin peeling the rest of the backing paper while pushing down and smoothing out the magnet so it sticks to the build plate with minimal air bubbles. Continue this process until backing paper is fully removed and magnet is fully applied to the surface.
- Remove Air Bubbles – To ensure surface is as flat as possible use a plastic card to push air bubbles to the edge of the magnet. Any large air bubbles that can’t be pushed out can be popped with a pin. Considerable force is required to penetrate through the magnets surface, once popped use card to smoothen out bubbled area.
- Cleaning METAFLEX Plate - Before installing your METAFLEX plate you will need to clean both sides with IPA (Isopropyl alcohol) and a microfiber cloth to remove any grease or residue that might have remained following the manufacturing process.
- Installing METAFLEX Plate – Now that the magnetic base is installed you can fit your METAFLEX Plate. Simply line up the back edge of the sheet with the back edge of the magnetic base, slowly drop the sheet into place. The magnetic pull from the base will also help pull the sheet down into place.
- Levelling and Print Removal – Installation is now complete, before printing you’ll need to level your bed as per normal and adjusting accordingly. To remove model from your METAFLEX Plate, allow some time for plate to cool so you don’t burn your fingers. Using the tabs at the front, pull the METAFLEX plate up and away from the magnetic base. Then holding opposite sides of the plate, flex up and down until model releases. For bigger models you may need to rotate sheet and flex from all 4 sides.
Maintenance:
Using IPA (Isopropyl alcohol) and a microfiber cloth, we recommend cleaning your METAFLEX plate in between each print to remove any dust, grease, or debris that may cause adhesion issues while printing.
We also recommend regular cleaning of your magnetic base with IPA (Isopropyl alcohol) and a microfiber cloth.


